
Architectural concept board
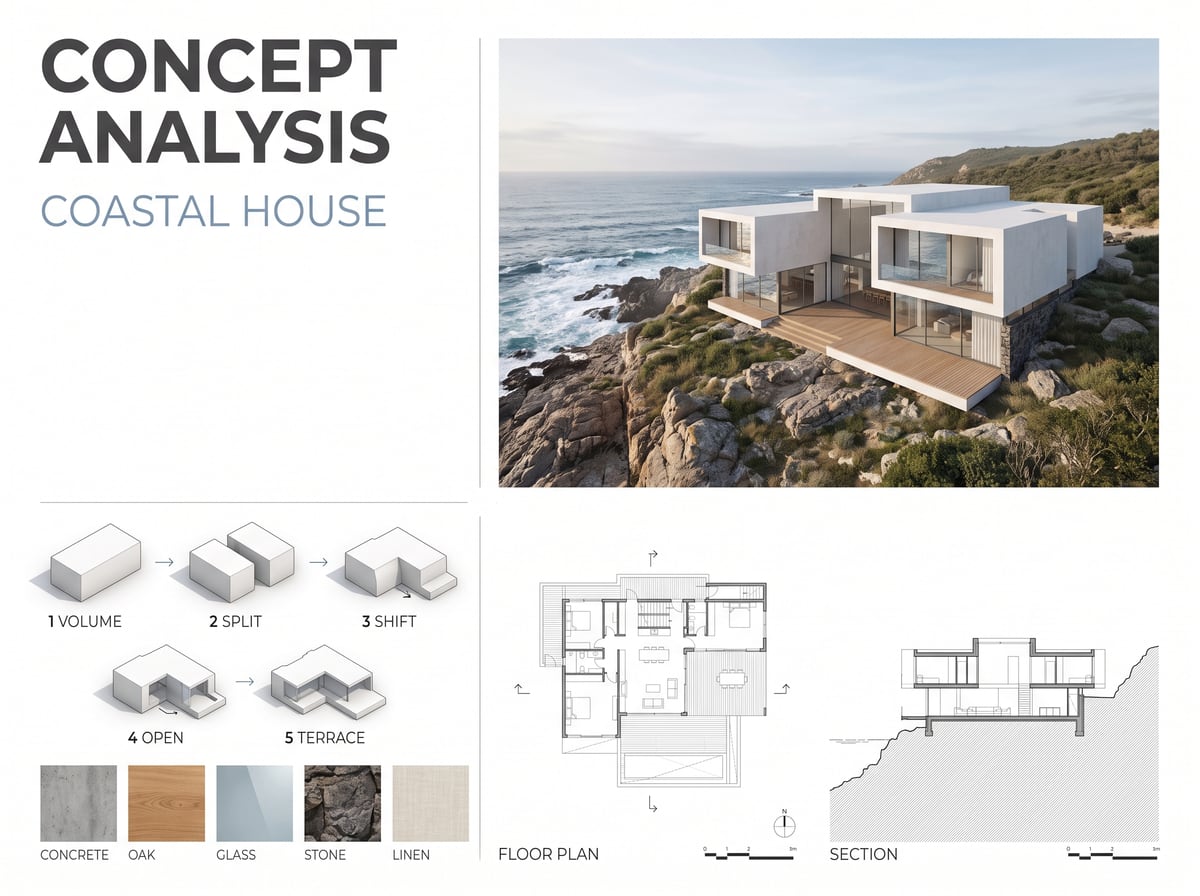
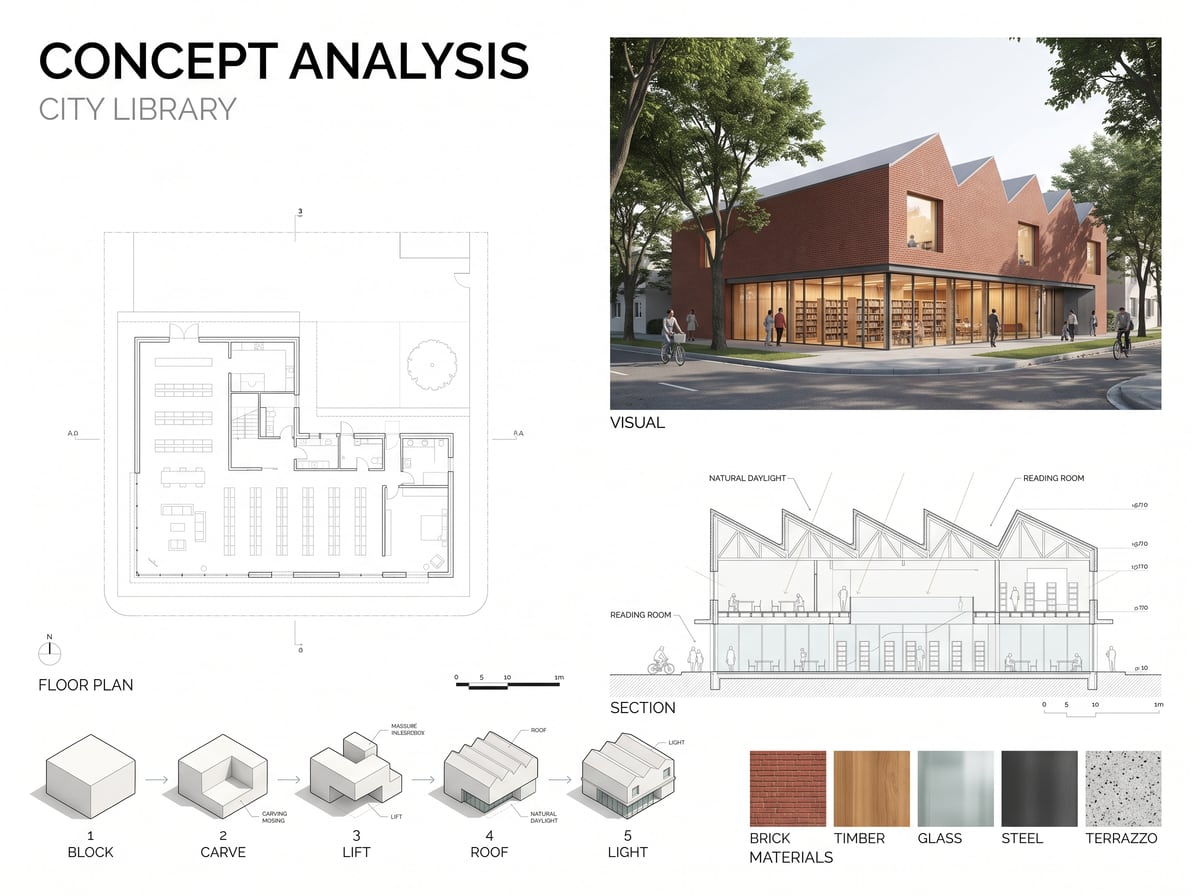
The board you make the night before the deadline and that takes the whole night. It starts from the same plan as the rest of your file.
How it works
- 1Attach your site plan, your floor plan or your 3D view.
- 2Pick the Concept board ambiance.
- 3Write the intentions to show — orientation, flows, views, winds.
- 4Send, then read every annotation back before putting it in the file.
Stating the intentions, not just the drawing
This is the ambiance where your request matters most. The plan gives the geometry; your words give what the board has to demonstrate — solar orientation, prevailing winds, access, views to frame, the hierarchy of spaces. A precise request gives a usable board; a vague one gives a pretty drawing that says nothing.
Read the annotations back
An analysis board carries text, arrows and captions, and a render can write an annotation slightly off. Treat it as a very advanced draft: the composition and the graphics are there, the words need checking. In a competition file or a graded submission, a wrong arrow costs more than a less beautiful board.
Examples
Frequently asked questions
- Can I use it for a studio submission?
- That is your call and your school’s: rules on AI use vary between institutions. Check before submitting.
- Is the text in my language?
- The request is sent in the language you read the site in, and annotations usually follow — check on the result.
- What about several boards that match?
- Start from the same plan and keep the same base request, changing only the intention: the boards stay in the same graphic family.
Try it on your own image
Create your account, drop in an image, run a render. The plans and what each render costs are on the pricing page.